CERAMIC INLAYS/ONLAYS
What are dental inlays and onlays?
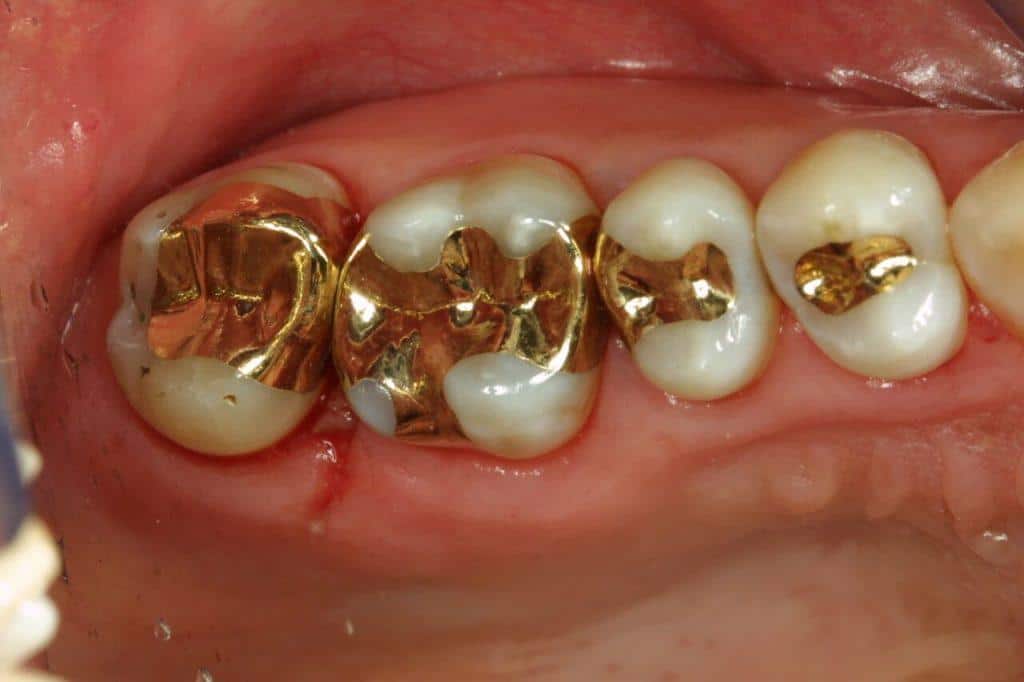
Dental inlays and onlays are used to repair, restore and reinforce severely damaged teeth or to replace large old defective fillings. Dental inlays and onlays are in between conventional plastic fillings and full coverage dental crowns.
Inlays and onlays are suitable for patients who are looking to restore their damaged teeth with the strength of a dental crown, but are unwilling to have healthy tooth structure trimmed down as is required for dental crowns . Many of our patients appreciate this minimally invasive approach.
When preparing teeth for inlays and onlays, healthy tooth structure will not be removed or trimmed.
It is increasingly common for patients to request for large, worn-down , leaking and corroded mercury fillings to be replaced and upgraded with an inlay or onlay, to reinforce the tooth further and to prevent problems.

Different materials (Resin-hybrids, Ceramic or Cast Metal) can be used to make an inlay or onlay.
Each material type has its pros and cons and we will discuss with you the best material to use in your particular case.
The inlays/onlays are typically fabricated in the dental laboratory using sophisticated software and CAD-CAM milling machines. This indirect method of fabrication of a dental restoration is in stark contrast to the direct method of filling teeth with conventional plastic fillings.
In general, indirect restorations have superior physical properties and durability as compared to direct fillings.
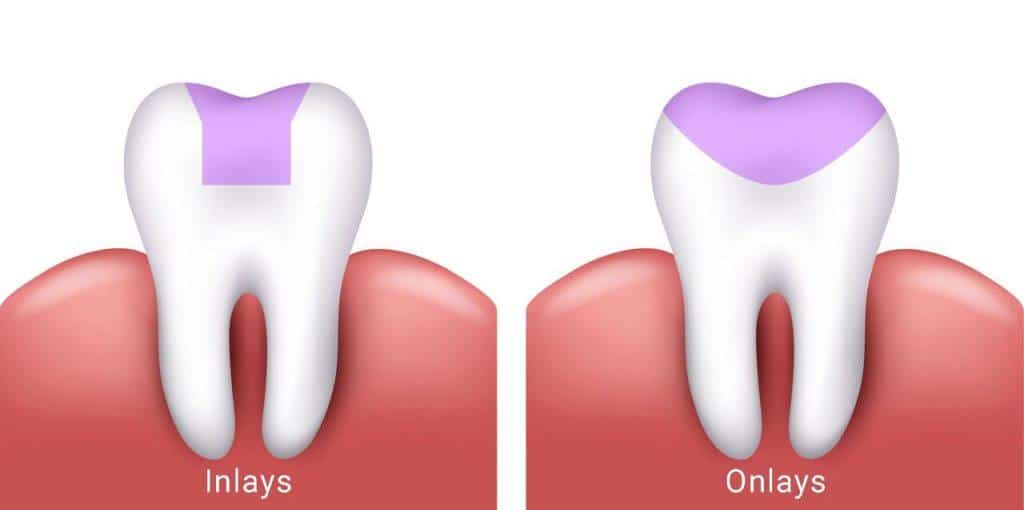
What is the difference between an inlay and an onlay?

An inlay fills the space in between the cusps, at the centre of the tooth’s surface
An onlay covers one or more cusps that have thin walls at the base of the cavity to prevent tooth fracture.
Dental Inlays/Onlays at Elite Dental Group
If you have selected an indirect inlay or onlay, this is completed in 3 steps over 2 visits:
Step 1 (visit 1): Preparing your damaged tooth
First, your tooth and the surrounding tissues will be numbed with local anaesthetic. Decay and old filling material is then removed from your tooth. The cavity is then cleaned and refined. A base filling may also be placed to seal the tooth from bacteria.
Step 2 (visit 1): Taking a mould of the prepared tooth
A mould or digital scan of your prepared tooth is taken and then transferred to the dental laboratory. A temporary filling will then be placed to protect your tooth in the meantime.
Step 3 (visit 2): Fitting your inlay or onlay
Once your inlay/onlay is ready, the temporary filling will then be removed. The inlay/onlay will then be bonded onto your tooth and any excess adhesive will be removed. Your bite will then be checked to make sure it is balanced, before we give the inlay/onlay a final polish.


